Showing posts with label nursery. Show all posts

Monday, April 11, 2016

Holly's Nursery

At long last, Holly's nursery is finally done and ready to be shared online (only took us four months...)!

Back over the summer, I had the hardest time finding a theme that was girly but not pink walls, princess, over-the-top feminine.  I had looked everywhere -- Pinterest, every feasible store website, four (yes, FOUR) fabric stores -- and couldn't find anything I like.  Note to Self: make girly dinosaur nursery stuff, market it, and make a million dollars. 

Then, one afternoon at Buy Buy Baby, I was taking an "I'm exhausted from all the nursery-searching and also generally being pregnant" break in the gliders.  Jason brought me a package of decals he had found.... Alphabet.  Girly alphabet.  Girly alphabet in fun colors that weren't just pinks and purples.  SOLD!  (also, love him!  He knows me so well).  Added bonus: Tyler is obsessed with the alphabet, so maybe he wouldn't mind so much that his play room was being converted into another bedroom if he got to look at ABC stuff in the new room!

Anyway, I used the decals as a springboard and built the room off of it.  I present... Holly's bedroom!  *fanfare*

Handmade fleece blanket, ABC sheets (close-up in another picture), canvasses based off the decals, and yellow chevron curtains)

close-up of the canvasses (W is for watermelon whales, O is for owl on an orange tree, etc.)

close-up of the (wrinkly) ABC sheets I was able to find

other side of the room -- white furniture from IKEA (which was how we were able to go with such a dark gray paint), the decals, yellow chevron changing pad, and fun pink clock

close-up of the decals (note the pictures the canvasses were based off of)

I never did make Tyler letters, but I made Holly some understated ones that she'll hopefully be able to keep for years.  Problem: once I painted them, we couldn't find a spot for them!  Jason saved the day by mounting them above her closet.


So that's Holly's room!

Monday, August 5, 2013

Painting

One of the perks of pregnancy is not being able to paint.  "Oh no, the VOCs will get me... I guess I'll sit on the couch watching tv instead..."  Honestly, I cleaned while Jason painted (though I did take some breaks on the couch).  Jason was a trooper, though, single-handedly changing our tan bedroom into a silver backdrop for our robot-themed nursery.

I did cheat a few times and sneak peeks long enough to take some pictures.

Before:


Prepping the Walls:


Painting:


Friday, August 2, 2013

Bedding

When Jason and I were narrowing down a nursery theme, we fell in love with robots because of this bedding:


Super cute, right?  We saw it online at several different stores, but wanted to see it in person before purchasing it.  We went to Babies R Us, but it wasn't there.  So we went to Buy Buy Baby... but it wasn't there.  Well, we knew we loved it, so maybe we'd just order it online... and pay $20 shipping!  What?!?

As we were walking around the baby stores, we noticed a trend in the bedding section -- hanging the blanket over the crib.  We also saw signs that basically said "Make sure you don't put blankets in the crib with the baby."  Um, so what do we do with the blanket?  I called an expert, my friend Kristen, and asked her.  Her answers?  "Well, some people hang it on the wall as artwork, or some people drape it on the rocker, but no, you can't put it in the crib."

Hold the phone.  We're going to buy a 4-piece bedding set for $200 (yes, you read that correctly, $200, significantly more than our queen-sized bed set) and not be able to use two of the four pieces (the blanket and the quilt)?  So we'd be paying $200 for a sheet and bed skirt (neither of which actually had robots on them), and two "art pieces."

I made an executive decision.  I went to JoAnn's Fabrics in search of robot fabric.  I'm no master seamstress (I can sort of hem pants and sew buttons back on), but I can make felt tie-blankets.

Step 1: Buy felt fabric.  You need two pieces of fabric.  I usually buy two different fabrics (a print and a solid) to add some fun to it.  For baby blankets, they suggest 1.5 yards each.  Lie one piece on the other and trim so they line up.

Step 2: Cut strips.  I use the width of a ruler as a guide, and I cut strips 3-4" strips.  They ended up a little long (I trimmed them afterwards), so you may want to go a little shorter than that.  At the corners, cut out squares where the two sides of strips intersect.


Step 3: Begin tying strips together, attaching the top layer to the bottom.  Use a simple "left over right, right over left" knot.  Make each knot the same to keep everything looking uniform.

Aaaaaand, done!


Is it as adorable as the original bedding?  No, and I'm not going to pretend it is.  However, it was made specially for our little boy, and I saved a ton of money at the same time.  I consider that a success!

Thursday, August 1, 2013

Robots!

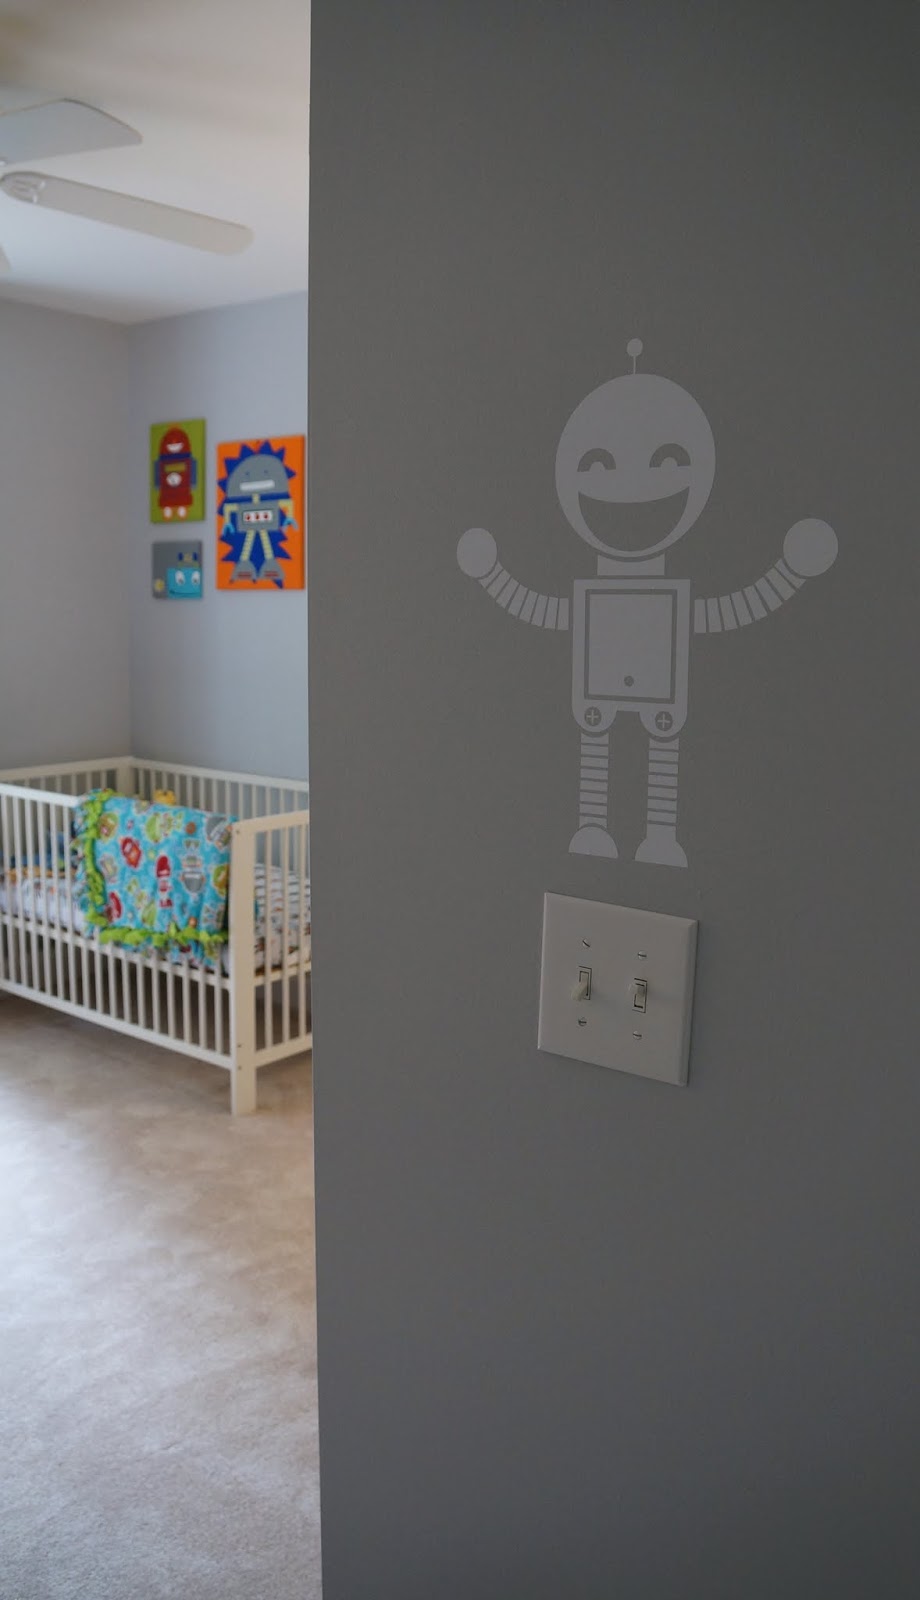
Many of you already know that Jason and I chose a robot theme for our nursery.  Well, I'm finally ready to share pictures.  We're still waiting on our glider (which will go between the crib and nightstand), but I couldn't resist posting any longer.

Walking in the Door:

The robot decals are from Dali Decals... we were quite impressed by them

Dressers/Changing Table:


Crib Wall: 


I made the blanket (nursery bedding is crazy expensive!) and painted the canvases.  I know several people are shocked I didn't paint Lilhimself letters (for those who don't know, I paint letters for nurseries... see more here and here), but I went with canvases instead a) to make a bigger impact and b) we didn't know what his name was going to be.

So that's going to be Lilhimself's room!  I like how it turned out, and I'm excited for him to see it!